Step-by-step guide
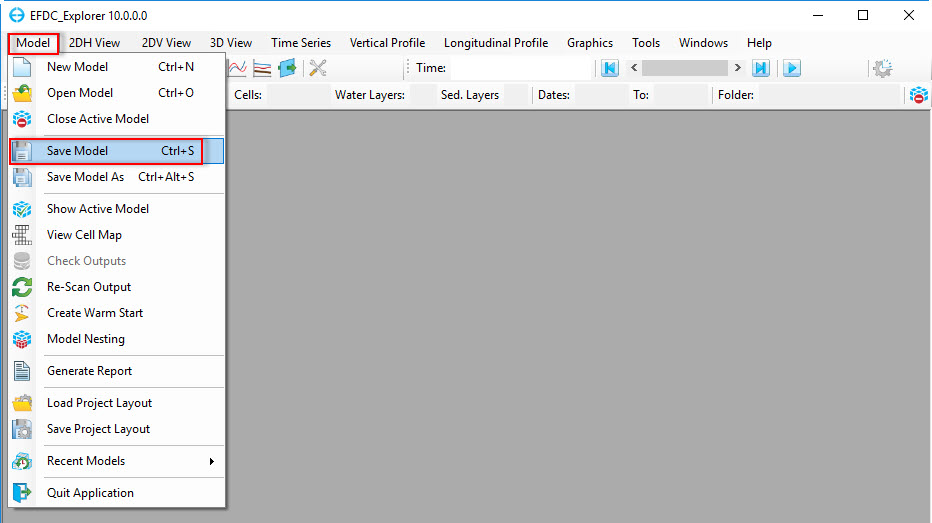
1. To save any changes on a currently opened project (i.e. Write Operation), click on the disk button highlighted on the toolbar shown below. Or the user can select Save Model option in Model menu.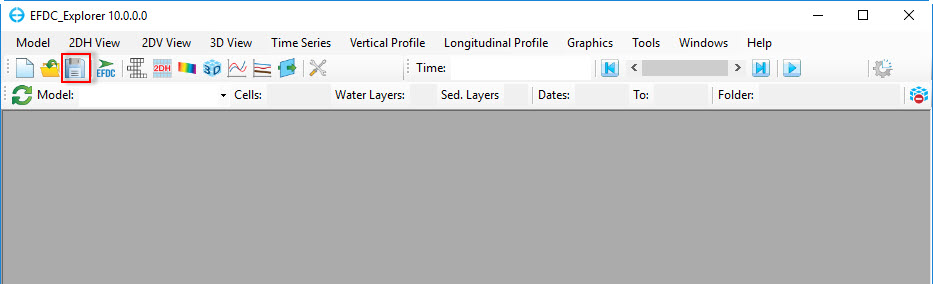
2. The Select Directory: Write Operation form will be displayed. The user has the option to select which files are written by selecting the appropriate Save Options button.
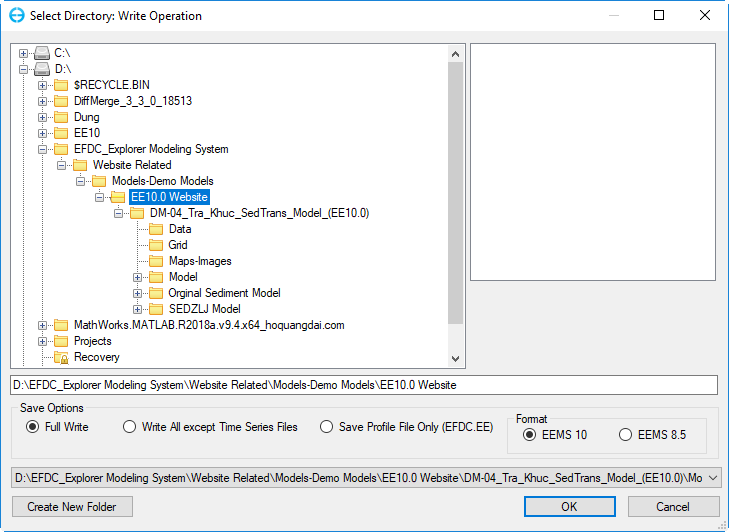
3. For a complete save of all the input files select the Full Write option.
4. If you have only made changes to the formatting options in EFDC_Explorer and want those saved, select the Save Profile File Only option. The profile is always saved for the other save options also.
The Profile File is the file EFDC.EE, which contain settings of the model such as the name of boundary groups, calibration stations, etc...
5. If the user only has the “*.EFDC” archive file and wants to create a set of files that EFDC needs to run that project, the user must select the Full Write option to create all the input files required.
The user can choose 2 format options:
- EEMS10 models can only viewed and calculated with EE10 and EFDC+ version 10
- EEMS8.5 models can be viewed by both EE8.5 or EE10 and run with EFDC+ version 8.5