After opening EE10, the user has a number of different ways to create a new model, three approached approaches are:
- Click the Model button on the main menu toolbar, then select New Model (see Figure 1).
- Click the New Model button directly on the main menu toolbar (see Figure 2).
- From the keyboard, press Ctrl+N.
| Anchor | ||||
|---|---|---|---|---|
|
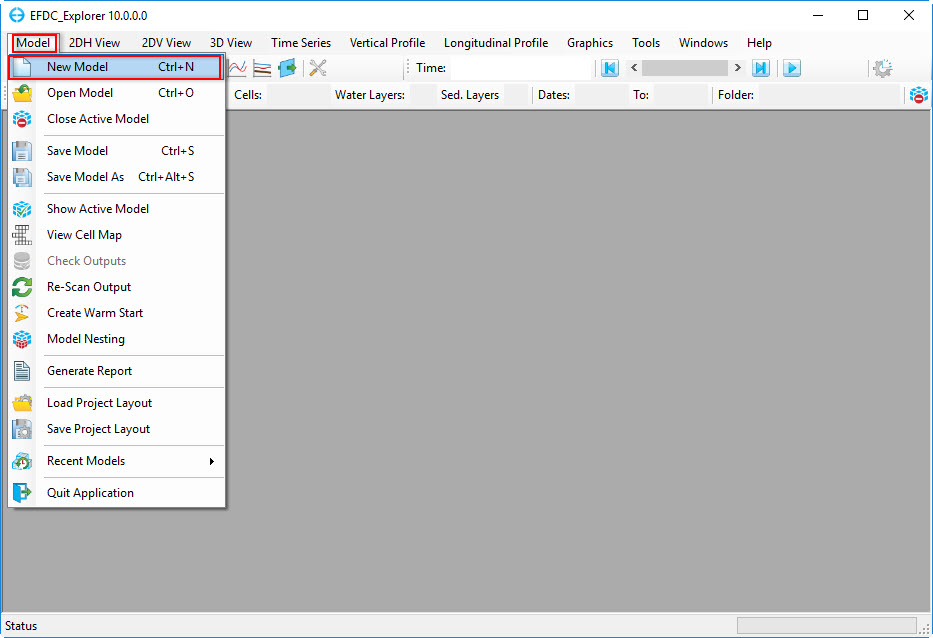
Figure 1. Create a new model (1).
| Anchor | ||||
|---|---|---|---|---|
|
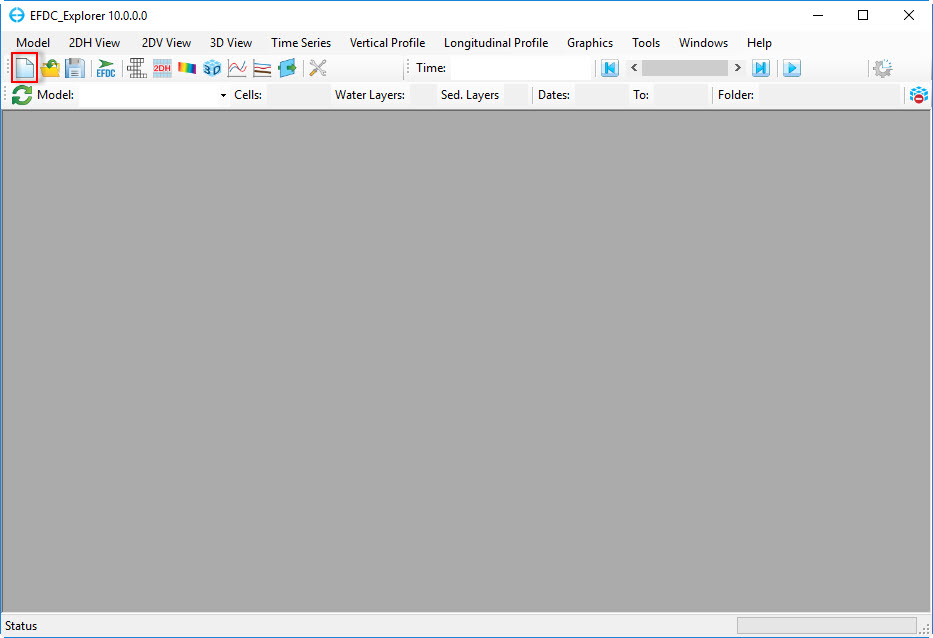
Figure 2. Create a new model (2).
After one of these three ways is used to create a new model, the Grid Tool form appears. From this form, the user has four options for assigning grids:
- Import Grids from Files: this option allows the user to import an existing grid file; the grid can be one of a number of formats including CVLGrid or RGFGrid. If the user has multiple sub-grids for a waterbody then the Multiple grid files check box may may be selected. Browse to the grid file and click OK button to finish. (see Figure 3 and Figure 4).
- Generate Uniform Grid: this option allows the user to generate a Cartesian grid. The user can define grid cell size and the number of cells (see Figure 5).
- Generate Radial Grid: this option allows the user to generate radial grid ( see Figure 6).
- Generate Telescoping Grid: this option allows the user to generate a telescoping grid ( see Figure 7).
Details of how to use these options are provided in the Model Grid section.
Anchor Figure 3 Figure 3
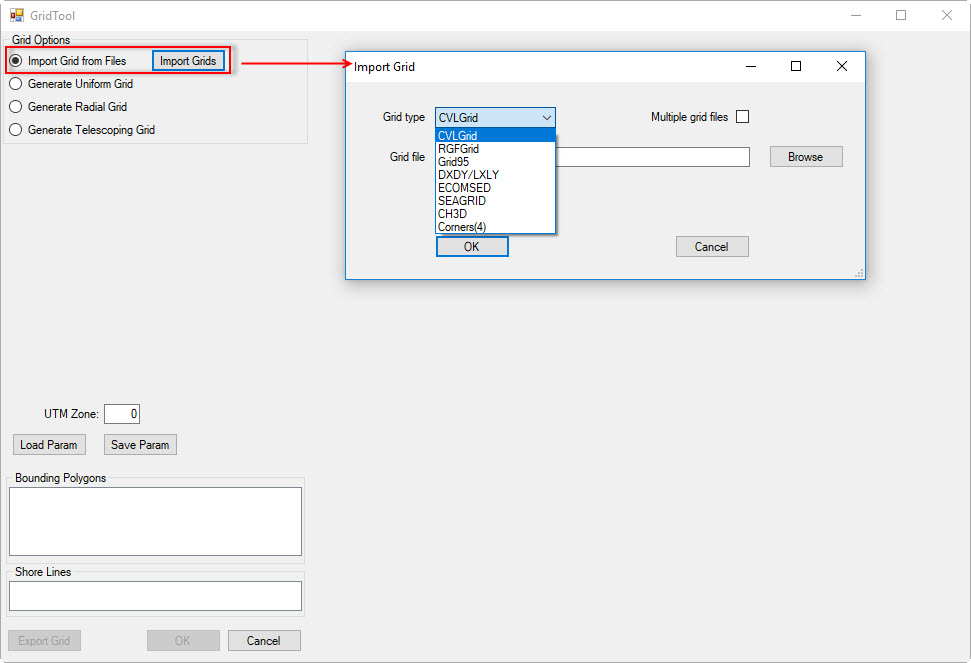
Figure 3. Import from existing grids (1).
Anchor Figure 4 Figure 4
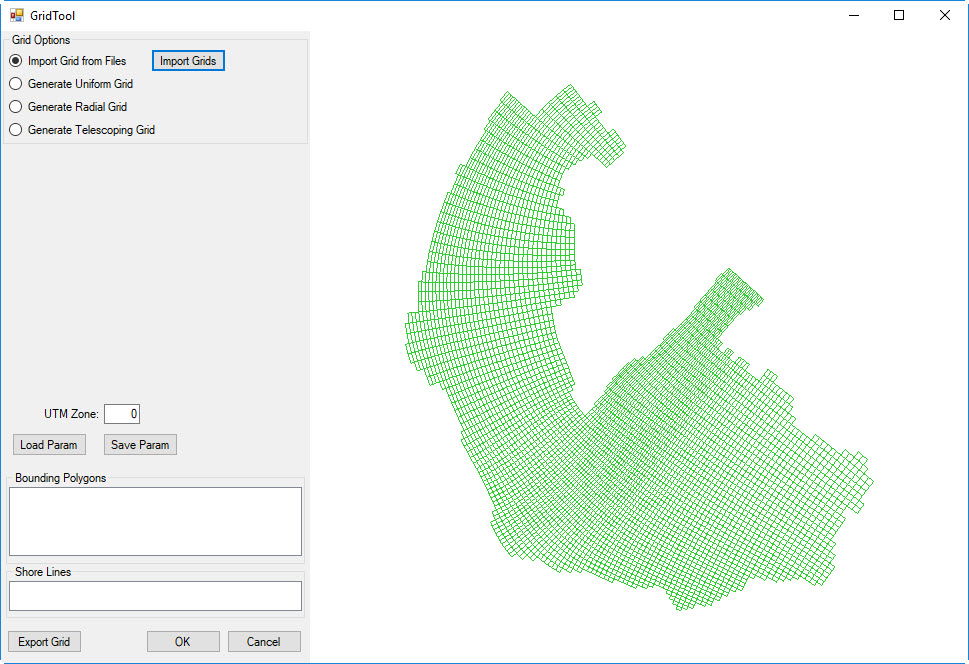
Figure 4. Import from existing grids (2).
Anchor Figure 5 Figure 5
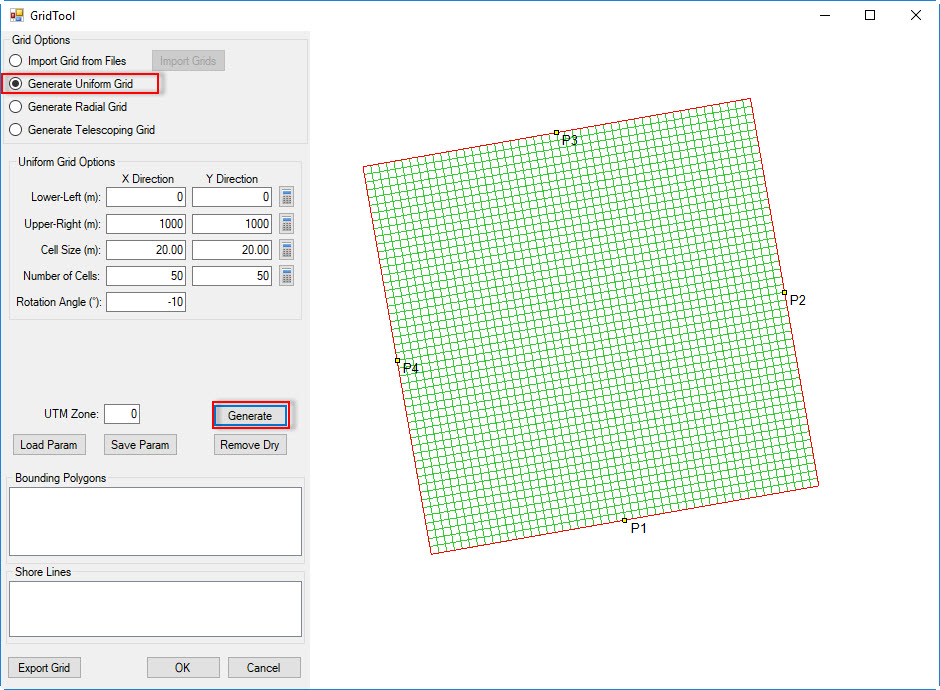
Figure 5. Generate Uniform Grid.
Anchor Figure 6 Figure 6
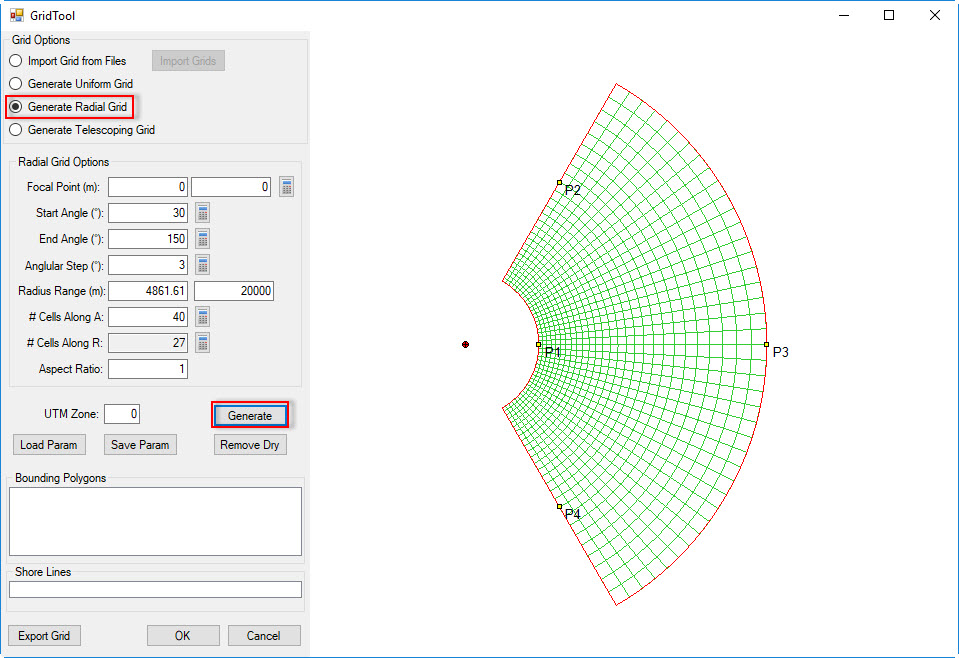
Figure 6. Generate Radial Grid.
Anchor Figure 7 Figure 7
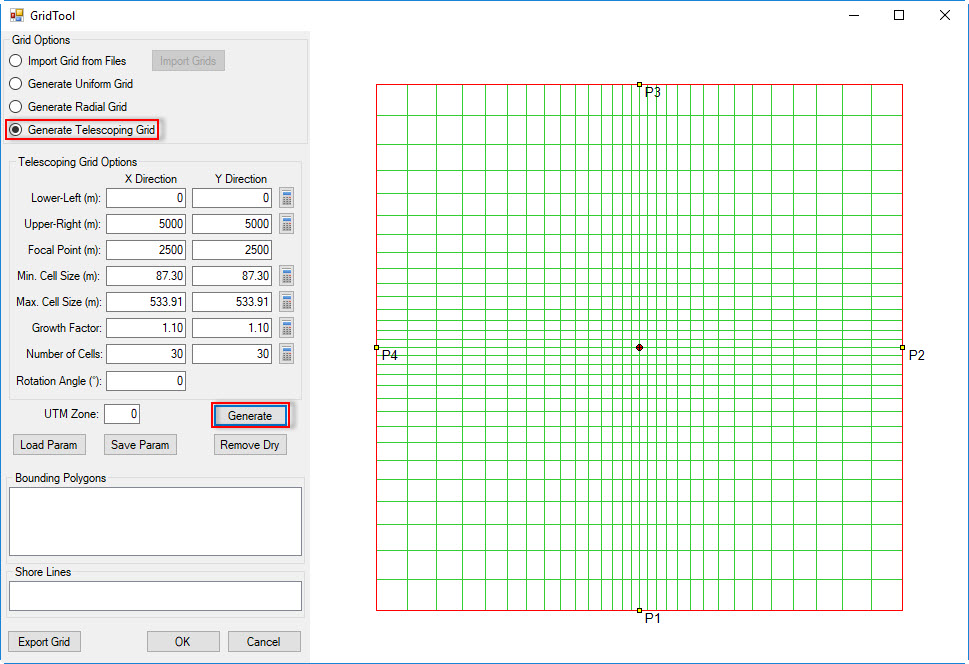
Figure 7. Generate Telescoping Grid.