After the model has been run and the output is generated, the user can view the model output through the following means:
- 2DH View: the The basic use of EFDC_Explorer’s 2DH View Post-Processing function is 2D maps of various parameters at user-specified times. The viewing options have many variations depending on the context. For example, for water column information the user may specify depth-averaged results or review the results for each layer of the water column. The desired time is scrolled to using the scroll bar highlighted in Figure 1, using the PgUp/PgDn keystroke combinations or Ctrl-G to jump directly to a specific date. More features of the 2DH View is discussed here.
Anchor Figure 1 Figure 1
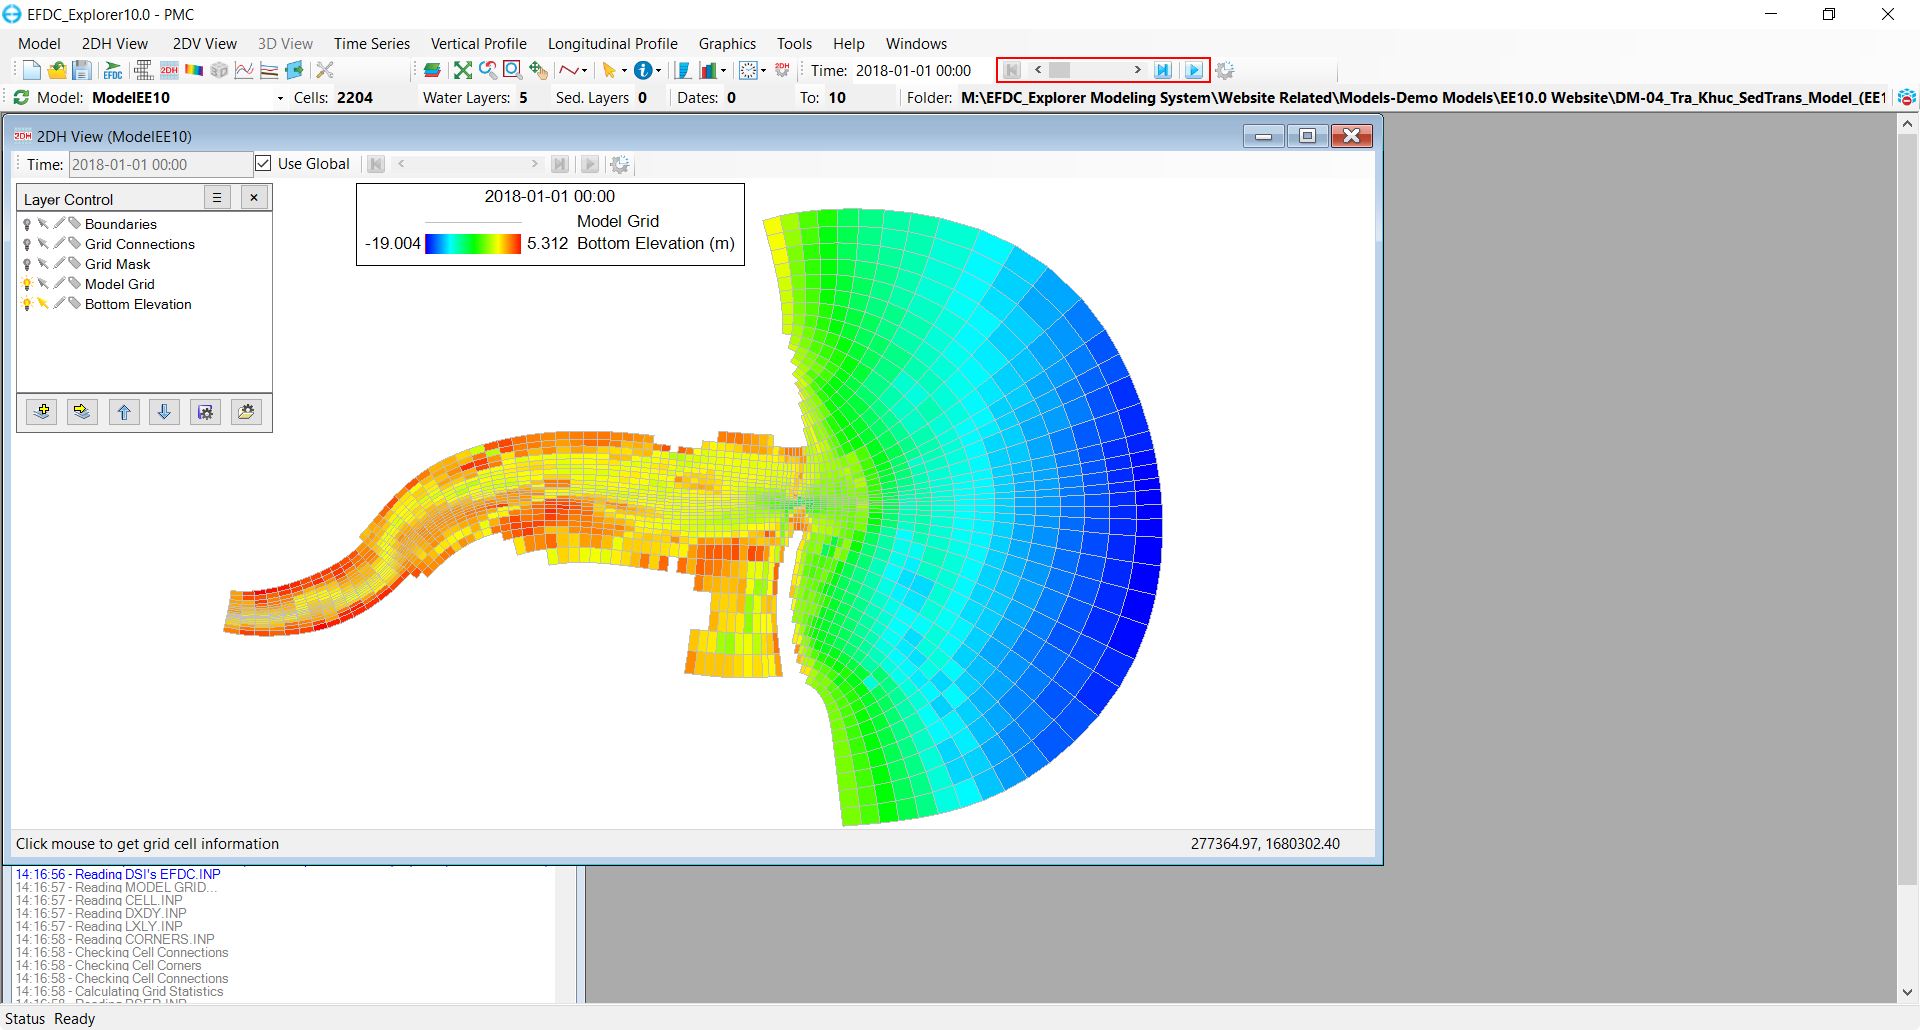
Figure 1. Utilize the 2DH View to view the model output.
- 2DV View: provide access to the profile/cross-section post-processing utility of EFDC_Explorer. To see the output generated by EFDC at a specific point of time, user should first uncheck the box beside the slider , and then use the slider (highlighted in Figure 2) to adjust the time.
Anchor Figure 2 Figure 2
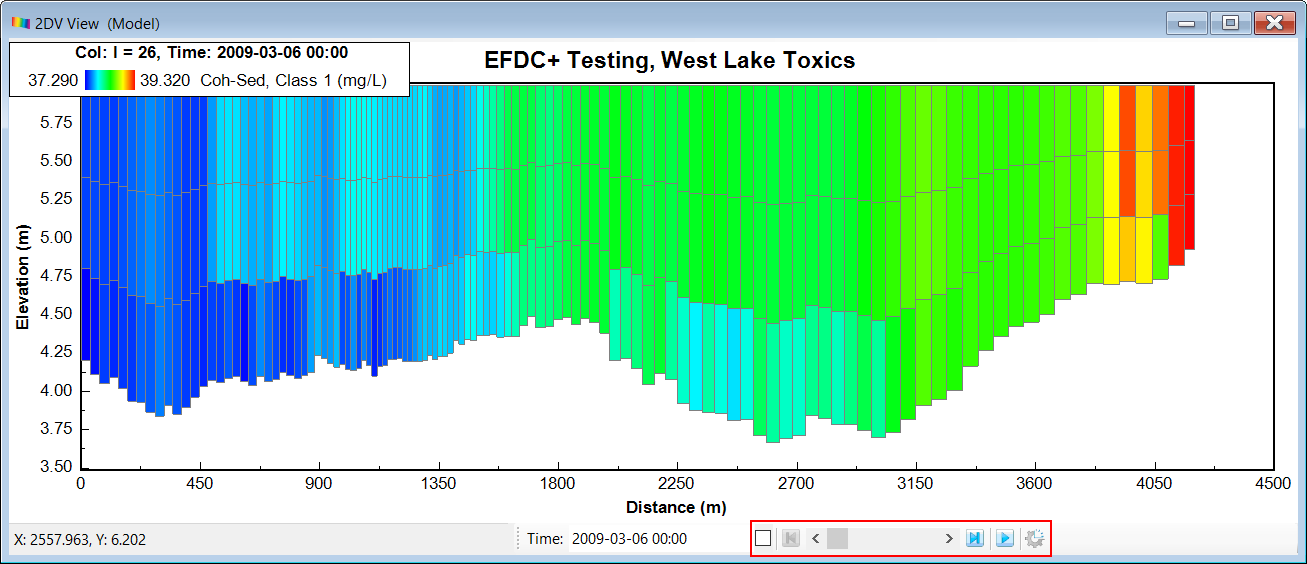
Figure 2. Utilize the 2DV View to view model output.
...
- Time series: provide the user with a time-series plot of given data points from parameters extracted at user-specified location. For more information on time series, please refer to Time Series.
- Vertical Profile and Longitudinal Profile: operates similar to 2DV View; uncheck the box beside the slider and then use the slider o adjust time and see the plot generated by EE in at different point points in time.
- Flux Tool: used to obtain Time series plots of the mass loading of many constituents through a profile (user-defined polyline) or a boundary. This tool can be found in Main Menu→ Tools and more information can be found on Tools Menu.
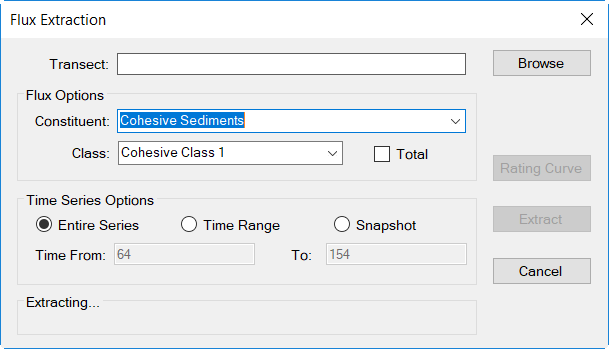 Figure 3. View output through mass flux option.
...
- Re-Scan Output: After EFDC+ has completed running the model., the user can use this feature to immediately load the output without having to re-load the model.
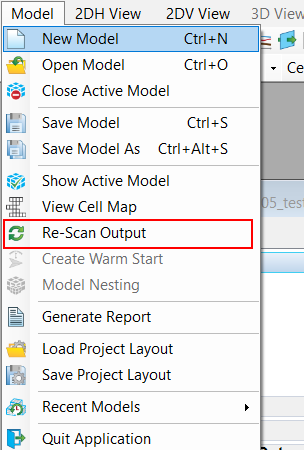
Figure 4. The Re-Scan Output option can be found in the Model menu.
- Time Control Setting: clicking click on the button highlighted in Figure 5 on the main tool-bar will display Time Control Settings from. This form allow allows the user to choose calendars, time format, and adjust animation settings.
...